PokéPark Kanto
2026 marks the year both myself and Pokemon turn 30. I’ve grown up with Pokémon, and somehow still love it just as much now as I did when I was a kid. So when the PokéPark Kanto opened just outside of Tokyo, it felt like the perfect way to celebrate both of the milestones.
I wanted to know if it lived up to the hype and offered an experience that would be loved by fans both old and new. It was the spot on my itinerary I was most excited for, and I could not wait to scratch that nostalgia itch.
Some links in this review are affiliate links, to learn more about how we use these, read our disclaimer.
- Is PokéPark KANTO Worth Visiting?
- In a hurry? Book everything here:
- What Is PokéPark Kanto?
- PokéPark KANTO Tickets: What You Need to Know
- Getting to the PokéPark Kanto from Tokyo
- My Experience Visiting PokéPark Kanto Tokyo
- Pokémon Forest Tips
- Best Things to Do at PokéPark KANTO
- PokéPark Kanto Store
- What Camera Gear I Used at PokéPark Kanto
- Is PokéPark Kanto Worth Adding to a Tokyo Itinerary?
- Poképark Kanto FAQs
- Where to Stay in Tokyo
Is PokéPark KANTO Worth Visiting?
Yes, PokéPark Kanto is worth visiting for any Pokémon fan. There’s immersive themed areas, photo ops, easter eggs and exclusive merchandise. However it isn’t a full-day attraction on its own. So it may be worth considering planning it alongside Yomiuriland or another nearby Tokyo activity.
In a hurry? Book everything here:
Activities:
Accommodation:
More from Japan:
What Is PokéPark Kanto?
PokéPark Kanto is a Pokémon-themed area located inside Yomiuriland, an amusement park just outside central Tokyo. It is split into two main areas: Pokémon Forest and Sedge Town.
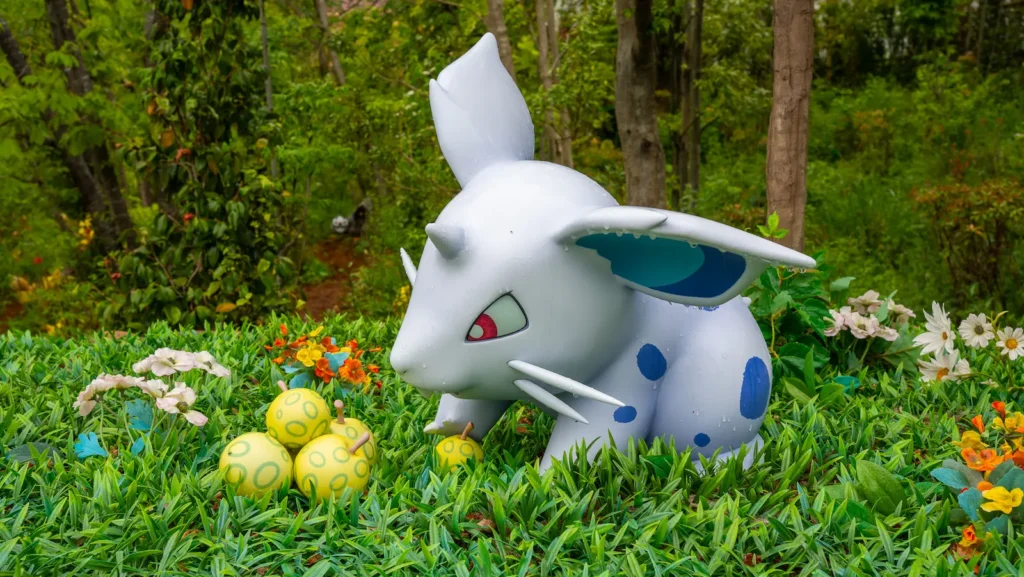
Pokémon Forest is the immersive walking trail where you follow a set route through different habitats filled with Pokémon. This is the park that most feels like stepping into the games, with different biomes, eater eggs and plenty of photo opportunities.
Sedge Town is the more social hub, with shops, mini games, themed experiences and merchandise. This is where you can browse stalls, collect pins, visit the Pokémon Centre experience and experience a real life Pokémon town.
Getting to the PokéPark Kanto from Tokyo
PokéPark Kanto is technically in Tokyo, but it isn’t in the central city. It is located inside Yomiuriland, which means you should treat it as more of a half-day trip rather than something you can quickly squeeze between central Tokyo activities.
I would recommend checking your route in advance, especially if you have a timed entry for the Pokémon Forest. Give yourself extra time for train changes, finding the entrance and working our where to go once you arrive.
If you have a later Pokémon Forest slot, it may be worth arriving earlier so you can explore Sedge Town first, depending on what your ticket allows.
My Experience Visiting PokéPark Kanto Tokyo
Just before 2pm we queued up outside before being let in for am introduction. The talk was in Japanese, so I can’t tell you exactly what was said, but the setting itself was brilliant. It felt like we were standing inside Professor Oak’s Lab.
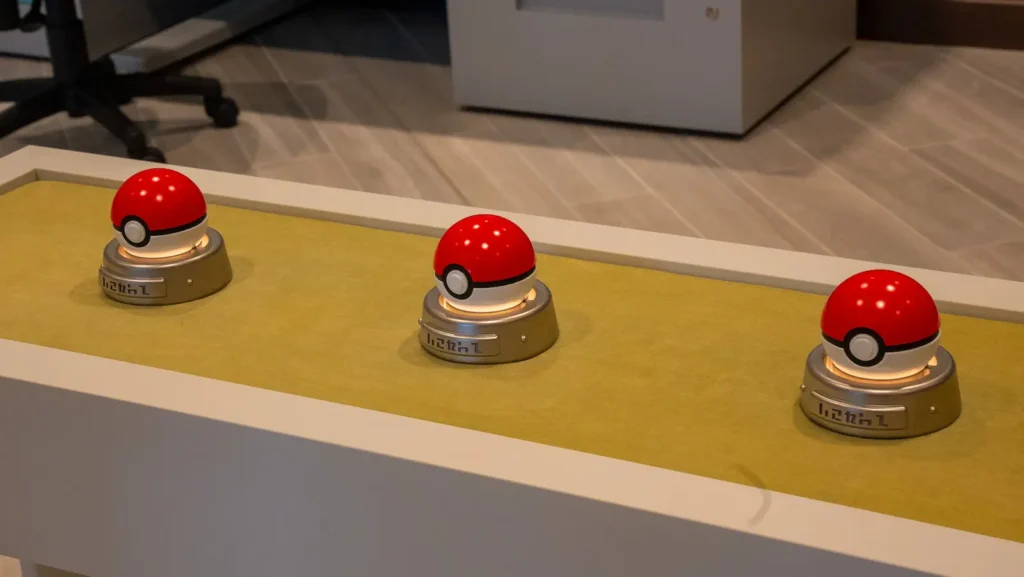
Pokéballs were lined up on a table as if they were waiting for you to pick your starter before heading out onto Route 1. Even before entering Pokémon Forest properly, it was already starting to feel special.
Pretty soon we were released though to explore Pokémon Forest, and those first few steps were nothing short of magical. So many moments from my childhood had been brought into the real world, including the classic title sequence battle between Nidorino and Pidgey.
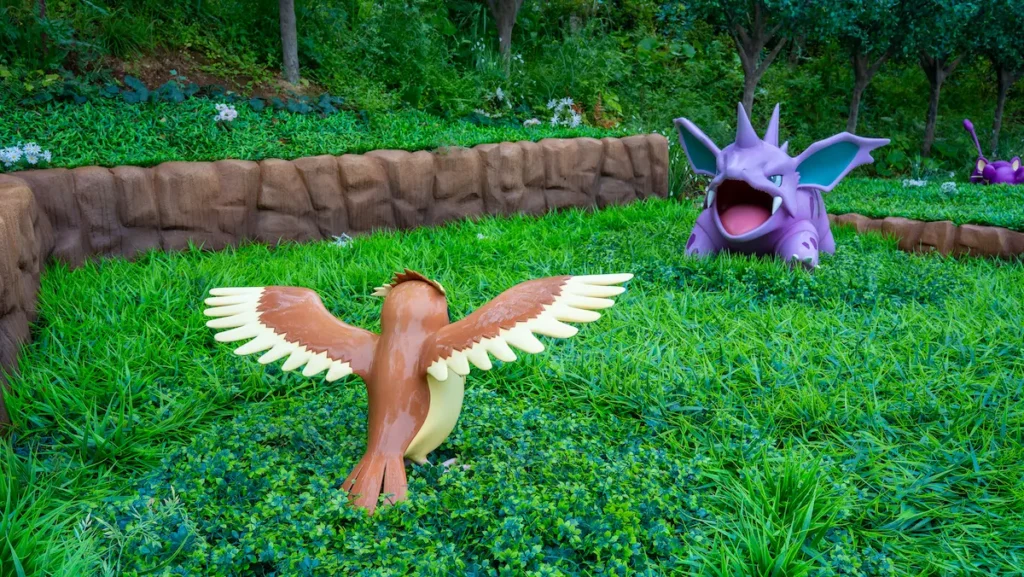
As you walk through the forest, you’ll spot Trainer Tips signs dotted along the route, giving you little facts and bits of information. Up to this point in Japan, I had only had a little drizzle of rain, but it gradually starting to get stronger. Luckily, I had my Mac in a Sac jacket in my bag for some protection.
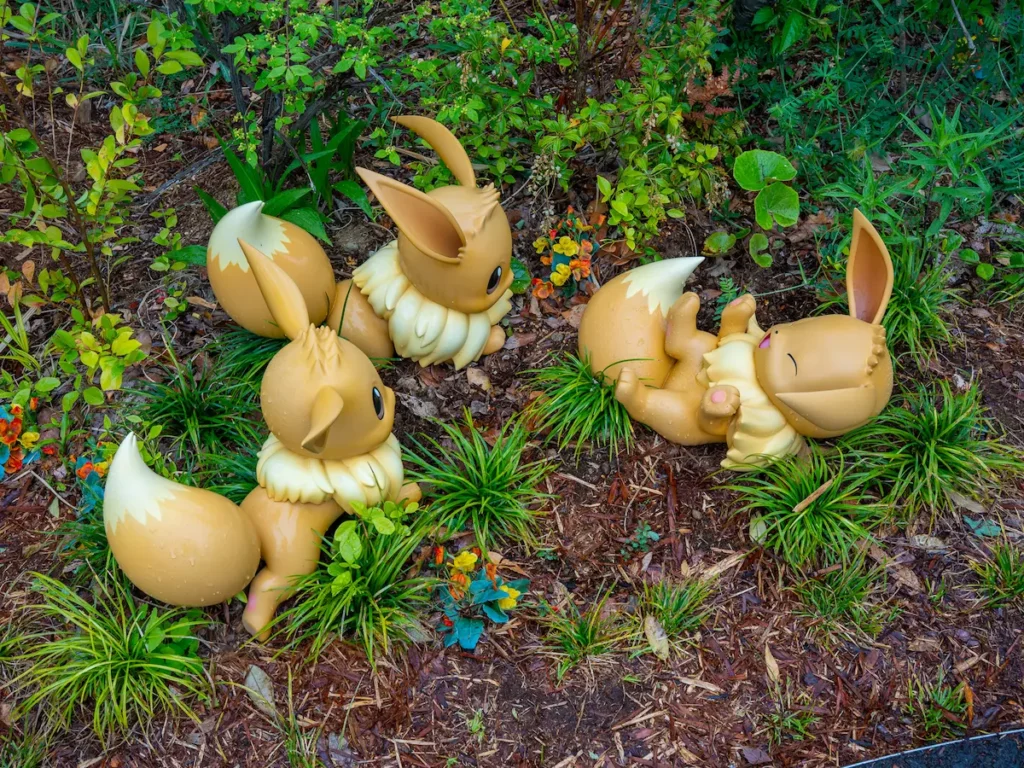
The path itself is very easy to follow. You move through different biomes, each with its own Pokémon species making it their home. It has been designed incredibly well, with areas such as Pikachu and Eevee forest where they can be observed playing together.
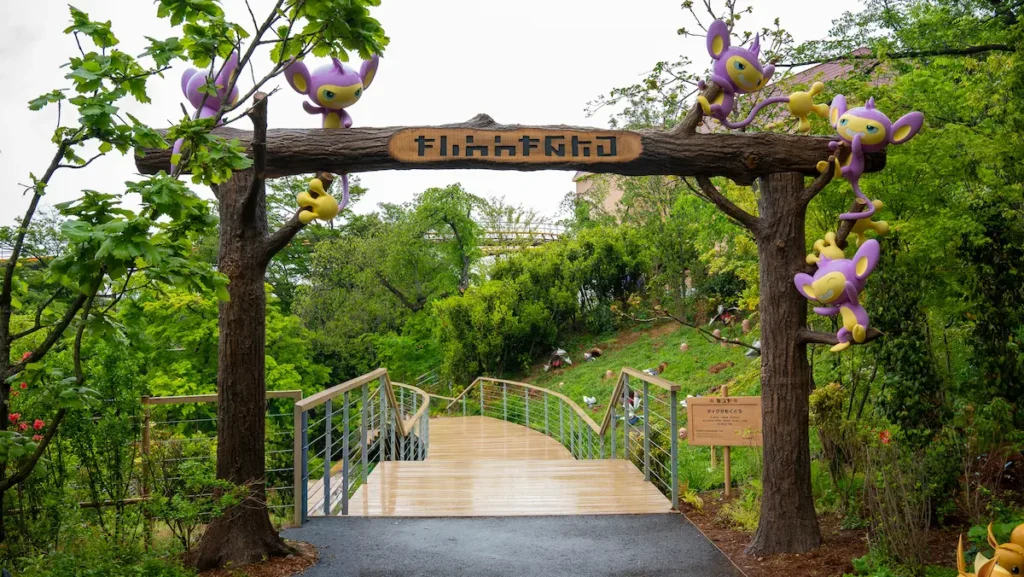
It has become a tradition in Pokémon games that your journey is occasionally blocked by wild Pokémon. Whether that is a sleeping Snorlax or a group of Psyduck suffering from mysterious headaches. In Pokémon Forest, it is a family of Bidoof who have made a whole in the path.
You can technically step over them, and there is even a Trainer Tips sign making you aware of this. But that is not really in the spirit of the games, so I went up the hill and around instead.
Each area offers more Pokémon, more hidden details and more photo opportunities. Keep your eyes peeled too, because if you are lucky, you may even spot a shiny.
After leaving the Pokémon Forest, you take your first steps into Sedge Town. This is where the experience shifts from exploring Kanto to enjoying shops, food, mini games and a more social hub.
Sedge Town feels more like a lively Pokémon village than a traditional theme park area. There are stalls, themed food and drink, merchandise, photo opportunities and small experiences dotted around.
Unfortunately, this is also where the rain really started to come down during my visit. My rain jacket helped keep me dry, but a lot of the activities and stores require queueing, so there was quick a bit of standing around.
The queues were packed so tightly, and it was not always clear what people were queueing for. Everyone around me had umbrellas, so the rain would run off them and straight onto me. It was not exactly the happiest part of my day.
Pokémon Centre
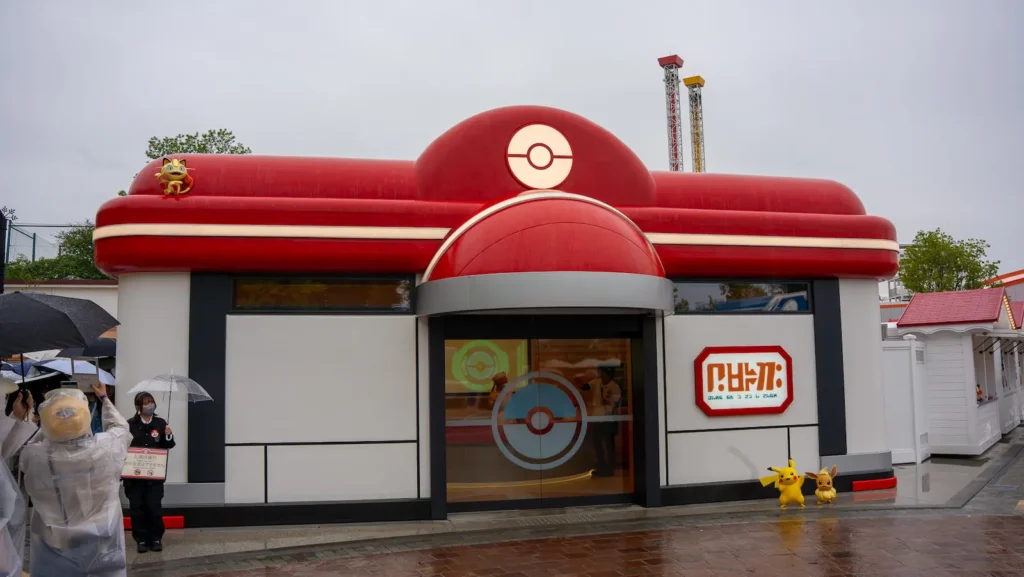
The Pokémon Centre experience lets guests take part in a short “healing” interaction with Nurse Joy. If you have a plushie with you, you can hand it over as if you are healing your Pokémon.
I wanted to visit, so I waited patiently until I was finally allowed in. Whoever goes in first is handed six Poké Balls to give to Nurse Joy. Again, I don’t speak Japanese and didn’t understand what Nurse Joy was saying, so when everyone raised their hand, I followed along.

It turns out that if you bring a plushie, either from home or purchased one from the stalls, you can take part in the experience properly. By handing it over to Nurse Joy where she will heal it for you. I didn’t have one with me, so after watching a few people take part and grabbing some photos, I decided to move on.
If you want to get the most out of the experience, bring a Pokémon plushie with you or buy one from a stall before joining the queue.
Pin Collecting
I had seen so much on social media about the pins available at the Poképark Kanto. One reel mentioned if you buy 10, then you get a special Premier Ball pin for free, although I never managed to verify this during my visit.
On the day I went, we were told it was one pin per customer,. Again, I had a long wait in the rain before eventually making it to the front of the queue.
You do not get to choose the Pokémon pin you receive, and it is entirely down to luck. However, you do get to choose the Poké Ball. I grabbed mine, opened it and got a Goldeen.
Goldeen is not my favourite Gen 1 Pokémon, but considering it is based on a koi fish, I don’t think I could have got a Pokémon more suited to Japan.
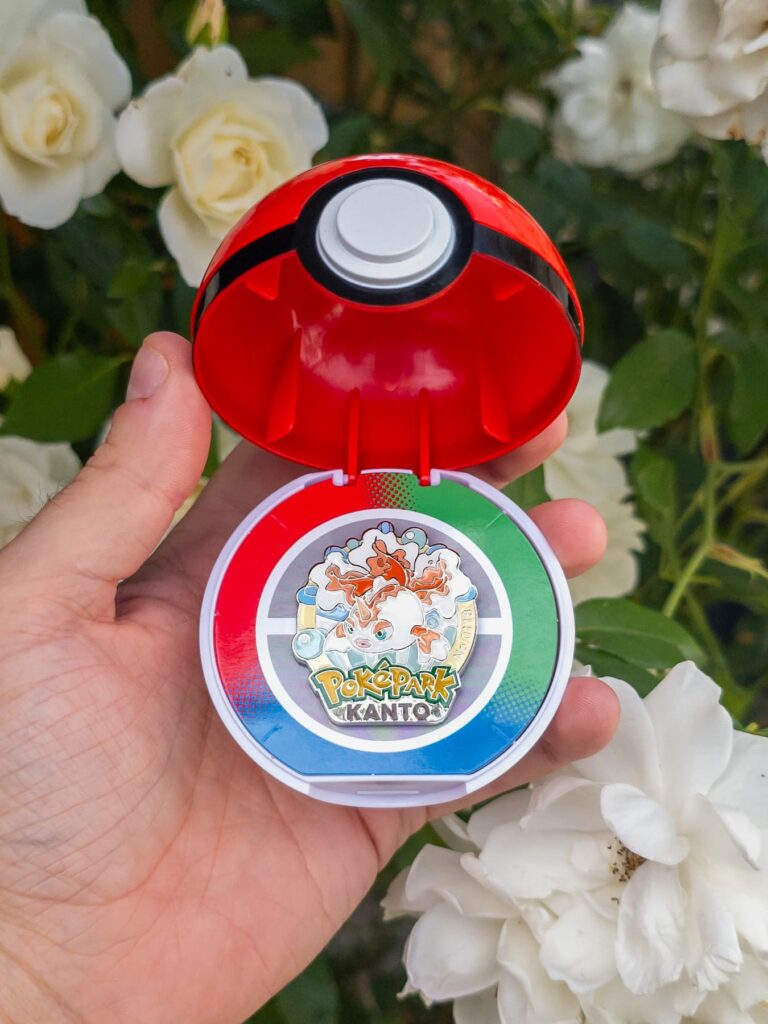
Pin Trade Boards
Staff members and stalls have pin trade boards, so if you are not happy with the Pokémon you got, you can offer to trade it.
By the time I got mine, the boards were 90% Weedle, so I decided to keep my Goldeen. It is a nice touch if you are chasing a favourite Pokémon, although the trade boards will depend entirely on what other visitors have already swapped.
PokéMart
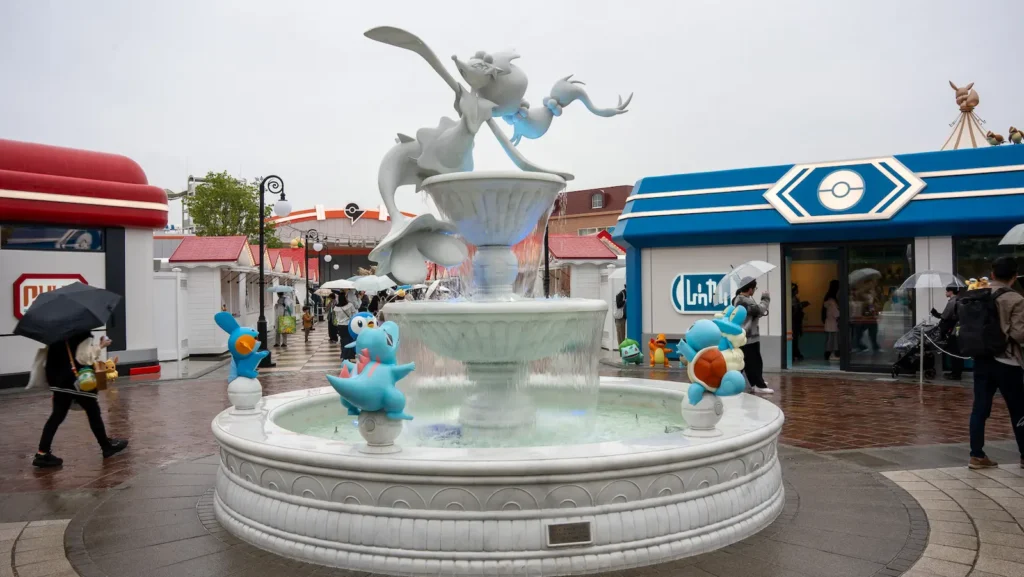
By now, the queue for the Pokémart had completely disappeared, so I thought it would be a good time to visit. It turned out the reason the queue was gone was because they had run out of Starter Pokémon smoothies.
That was ok though, as I wanted the Poké Ball-themed cookies instead. Again, if you buy 10, you a Premier Ball cookie for free, although I only bought three.
The rain was finally starting to ease off a little, so I explored more of the stalls. There were mini games to play, merchandise to browse and small activities dotted around Sedge Town.
At one stand, two Pokémon are selected each day, and you are given TCG-style card frames with the photo cut out. With just the name as your clue, you have to search the park and take a photo of that Pokémon. If you find it and show the staff a good photo, you can a sticker as a reward.
It is fun, free, and makes you feel like a real Pokémon trainer.
Best Things to Do at PokéPark KANTO
1. Explore Pokémon Forest slowly
The Pokémon Forest is the most immersive part of Poképark Kanto, so don’t rush through it. The route is not huge, but there are lots of small details to spot along the way.
2. Look for hidden Pokémon details
Some of the best moment are easy to miss if you only look for the larger Pokémon. Look around the edges of the path, behind trees and in the smaller themed scenes.
3. Visit the merchandise shop
There are several merchandise shops around Sedge Town, as well as a larger store that requires a booked time slow. If there is something specific you want, I would prioritise shopping earlier rather than leaving it too late.
4. Try the themed food or drinks
Some of the themed food may sell out quickly, as I found with the Starter Pokémon smoothies. If you see something you really want, it is probably worth getting it when you can.
5. Take your time with photos
There are so many photo opportunities throughout Poképark Kanto. A phone will be fine, but if you enjoy photography, treat Poképark Forest almost like a wildlife trail. Some of my favourite shots came from zooming in on the smaller details.
PokéPark Kanto Store
Before leaving, I had one final stop: the main PokéPark Kanto store. You have to book a time slot so the shop does not get too crowded, but I found this easy enough to do through the app.
Important Tip: You only get one chance to make a purchase in this store. If you buy something and then spot another item as you leave, you may not be allowed to go back to the till. Make sure you check the whole store properly before paying.
Once I made it inside, I had a look around. I was a little disappointed by the items on display, as nothing massively stood out to me, but I still wanted to buy something that felt like a PokéPark exclusive.
In the end, I chose a keychain. With limited space left in my suitcase, that felt like the most practical souvenir to bring home.
What Camera Gear I Used at PokéPark Kanto
During my trip to the PokéPark Kanto, I used two cameras.
For photos I mostly used my Sony A7CII with a Sigma 28-70 lens. This worked well for close-up shots of the Pokémon, especially in the Pokémon Forest where I wanted to pick our smaller details off the path.
For video, I also had the DJI Pocket Osmo 3. This was ideal for quick walking shots, short clips around Sedge Town and capturing the atmosphere without carrying too much extra gear. It was also much easier to shelter from the rain whilst shooting.
I also used a backpack as it was most comfortable option for a day involving trains, walking and queues. For this trip, I used a Fjallraven Singi 20L backpack with the Urth Arkose Camera Bag Insert. This kept my camera gear protected without feeling like I was carrying a full camera bag,

Is PokéPark Kanto Worth Adding to a Tokyo Itinerary?
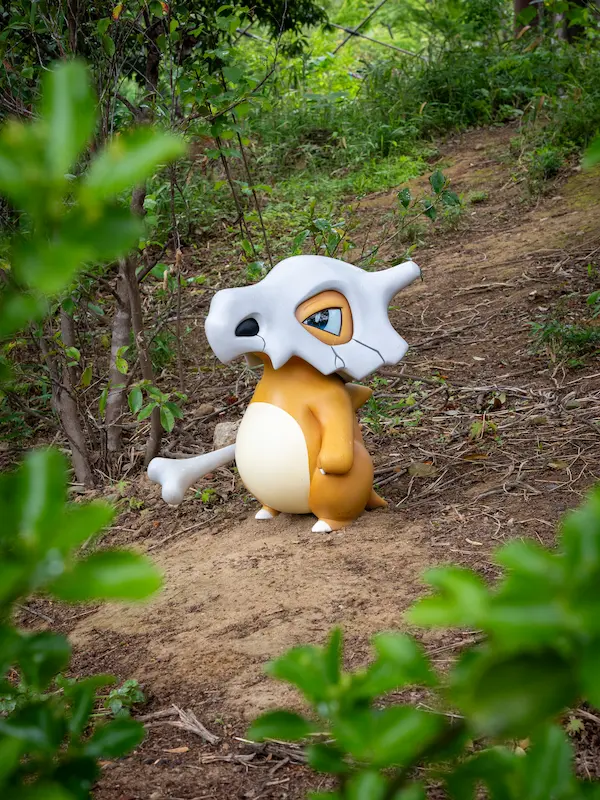
Yes, but only if you are a genuine Pokémon fan. Although the park is “technically” in Tokyo, it still requires a bit of effort to visit from Central Tokyo. If you do not love Pokémon, you may feel like that time could be better spent elsewhere.
For Pokémon fans, I think it is absolutely worth adding to your itinerary. Pokémon Forest was genuinely magical, and there were enough nostalgic details to make the experience feel special.
I would treat Poképark Kanto as a half-day activity rather than your only plan for the day. If your ticket includes a time Pokémon Forest entry, check whether you can visit Sedge Town before your slot so you can make better use of your time.
If I visited again, I would arrive earlier, prioritise the food and merch sooner, and bring a Pokémon plushie for the Pokémon Centre experience.
You can read more of my in-depth Japan guides here, or if you want a quick overview of the whole trip, check out my full 12-day Japan itinerary.
Where to Stay in Tokyo
I stayed at two hotels during my trip to Tokyo: Villa Fontaine Grand Tokyo Ariake and Sequence Suidobashi. Both were good stays, but Sequence Suidobashi was my favourite. Check-in was easy, the room was relatively spacious for Tokyo, and there’s even a hidden speakeasy bar that you can only visit if you find the key.
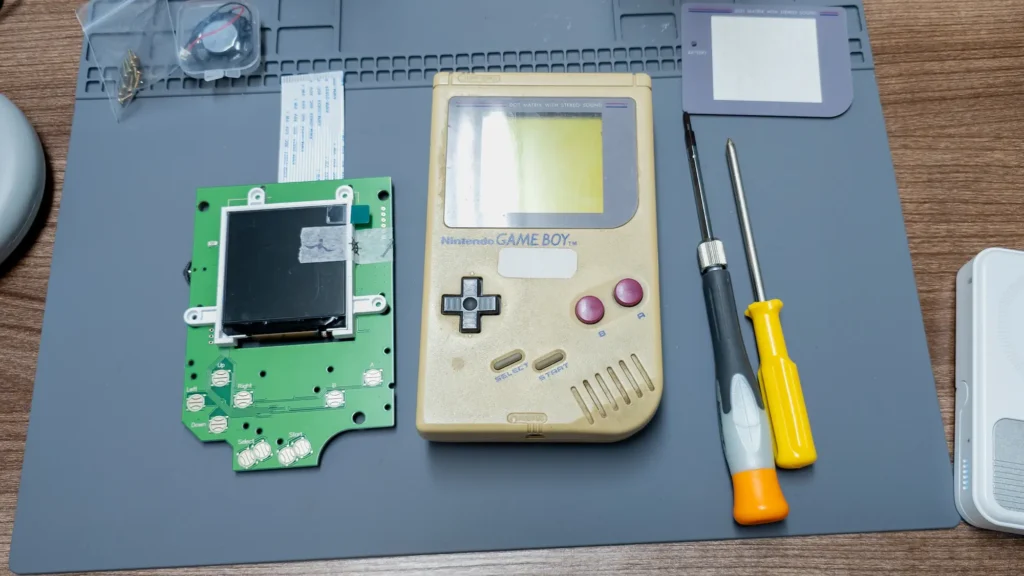
Both hotels are really close to public transport making it easy to get into central Tokyo and explore. A lot of the activities I planned where nearby or easily accessible, such as the teamLab Planets being near Villa Fontaine, and Sequence Suidobashi being close to the Game Boy Workshop.