
12-Day Japan Itinerary for First-Time Visitors
Planning your first trip to Japan can feel overwhelming. There are bullet trains, hotel changes, and more experiences than you could fit into one trip. This 12-day Japan itinerary follows the exact route I took through Tokyo, Hakone, Kyoto, Nara, Osaka, Hiroshima and Miyajima. You’ll find where I went each day, how I travelled between cities, what I booked in advance and the hotels I stayed at.
I spent 12 full days exploring Japan, although if I could do it again, I would extend the trip to at least two weeks. As a first-time visitor, I was blown away by how much there is to see, eat and experience. This guide follows my route from start to finish, giving you a ready-made itinerary you can follow exactly or adapt for your own trip.
Looking for accommodation? Jump straight to the hotels I stayed at during this Japan itinerary.
Some links in this review are affiliate links, to learn more about how we use these, read our disclaimer.
📍 Japan Itinerary Overview
This 12 day Japan Itinerary is ideal for first-time visitors who want to experience a mix of modern Tokyo, traditional Kyoto, scenic Hakone, food-focused Osaka and a meaningful day trip to Hiroshima and Miyajima.
- Days 1–2 Tokyo (Shinjuku, teamLab Planets, food tour)
- Days 3–4: Hakone (onsen stay, Hakone Loop, Lake Ashi)
- Days 5–8: Kyoto & Nara (temples, deer, tea ceremony, workshop)
- Days 9–10: Osaka (Osaka Highlights & Miyajima day trip)
- Day 11-12: Tokyo (Tokyo Tower, Sumo, Shibuya Sky, final shopping)
- Departure Morning: Fly home from Haneda Airport
Is 12 days enough for Japan?
Yes, 12 days is enough for a first trip to Japan, but you need to be selective. This itinerary focuses on a first-time route through Tokyo, Hakone, Kyoto, Osaka and Hiroshima that provides a mix of major sights, food experiences, cultural activities and day trips. It is a busy itinerary, but it works well if you book key activities in advance and use luggage forwarding between some cities.
12 days worked for me, but having two extra days would have made this trip feel a lot less packed and given me some flexibility when plans changed.
What to book in advance
Some parts of this Japan Itinerary are much easier if you book them before you travel. You don’t have to prebook everything, but I would prioritise teamLab Planets, your Hakone hotel or ryokan, Shibuya Sky, Kyoto cultural workshops, a Tokyo food tour, the sumo experience and any limited-capacity activities like the Game Boy workshop. Having the most popular activities already booked before I arrived made planning each day much easier.
Day 1: Arrive in Tokyo, explore Toyosu and relax with a rooftop footbath
After a long flight to Japan, keep your first day in Tokyo simple. I stayed at Villa Fontaine Grand Tokyo Ariake, which was a convenient base for a slower arrival day and only a short journey from the Toyosu area. Instead of trying to cram in major sightseeing straight away, I headed out for food, a cold beer and a relaxed wander around the local area.
One of my favourite low-effort finds nearby was the free Senkyaku Banrai Footbath Garden. After hours on a plane, sitting with your feet in warm water while taking in the city views is exactly the kind of first-night activity you need. It is simple, free and a great way to ease yourself into Japan without overdoing it.
I would strongly recommend keeping your first evening light and relaxed, rather than forcing in another activity. You have plenty of time in Japan and a rest after a long flights and hours spend in the airports will give you back some much-needed energy.
Day 2: TeamLab Planets, Shinjuku, Samurai Museum and a Tokyo Food Tour
Beat the jet lag by starting your first full day in Tokyo early. I recommend booking teamLab Planets for one of the first entry slots of the day, as this gives you the best chance of experiencing some of the rooms before they become too busy. You will need to book tickets in advance, especially if you want a morning slot.
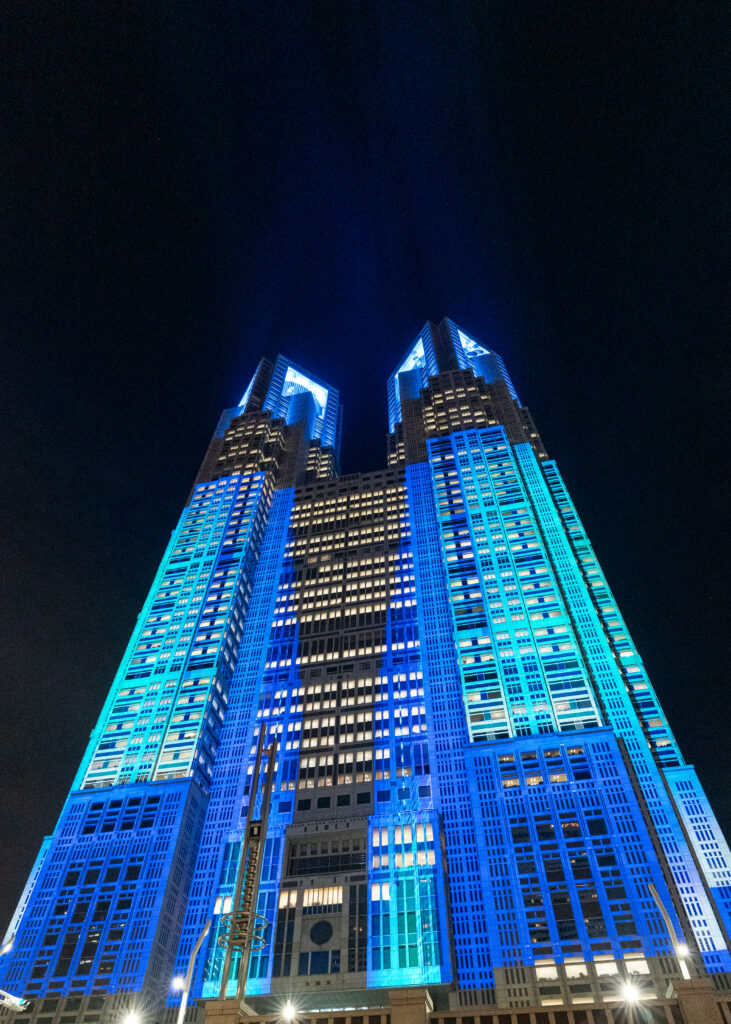
After teamLab Planets, head across to Shinjuku for the afternoon. This is one of Tokyo’s most exciting areas, with neon streets, shopping, shrines, restaurants and plenty of places to get wonderfully lost. I also visited an interactive Samurai Museum, which was a lot more fun than I expected and a good way to add a bit of history and culture into a modern Tokyo.
For dinner, I would highly recommend booking a Shinjuku food tour rather than trying to figure out everything yourself on your first full night. I joined a tour hosted by Emma and it was one the best introductions to Japanese cuisine I could have asked for. If you get a taiyaki, order the custard flavour, you won’t regret it.
Bonus stops in Shinjuku
Before or after your food tour, make time to see the famous 3D Shinjuku Cat billboard. It is quick, fun, and completely free, which is always a bonus in a city where paid attractions add up quickly. If you still have energy, you can also visit the Tokyo Metropolitan Government Building. The free observation decks and evening projection shows make it another budget-friendly stop in Shinjuku.
Why I recommend luggage forwarding for this itinerary
Hakone is much easier with a small overnight bag. The area uses a mix of trains, buses, ropeways and hotel transfers, which can be awkward with large suitcases. I forwarded your main luggage from Tokyo to Kyoto, you can enjoy Hakone with just a daypack and your suitcase will be waiting in your hotel room when you arrive in Kyoto.
Day 3: Travel from Tokyo to Hakone and stay in an Onsen hotel
Today, leave the energy of Tokyo and travel to the mountain town of Hakone. I took the Romancecar from Shinjuku, which is a comfortable and scenic way to reach Hakone without needing to use the Shinkansen. It is not the fastest train you will take in Japan, but that is part of the appeal. Sit back, enjoy the views and let the pace of the trip slow down.
I would really recommend buying a Hakone Freepass, like I did, if you plan to follow the classic Hakone Loop the next day. It can make travelling around the area much simpler, as Hakone uses a mix of trains, buses, cable cars, ropeways and boats.
I stayed at the Blisstia Hakone Sengokuhara and paid extra for a room with a private onsen bath. It was the most expensive hotel of my Japan trip, but it was easily one of my most memorable stays. Hakone is not a place I would visit for nightlife, but that is exactly why it works so well between Tokyo and Kyoto. After a busy few days in the city, having a spacious room and your own onsen feels like a proper reset.
Day 4: Hakone Loop, Lake Ashi pirate ship and Hakone Shrine
This is the day to properly put your Hakone Freepass to use. Start early and follow the Hakone Loop, using a mix of trains, cable cars, ropeways, buses and boats to explore the area. It can take longer than you expect, but the journey is part of the experience, taking you across the mountains, over volcanic landscapes and across Lake Ashi on the famous pirate ship.
One of the main highlights is the Hakone Shrine and the famous torii gate by the water. It is one of the most photographed places in Hakone. Even if there is a queue for photos, the setting is beautiful enough to make the stop worthwhile.
For anyone visiting, I would recommend also make time for Owakudani, the volcanic valley famous for its black eggs. I ended up skipping it because I was running out of time, and if I’m honest the sulphur smell put me off. I regret that now. On a clear day, Owakudani is one of the best places in Hakone to see Mt Fuji and get that classic mountain-view photo.
For dinner, I had hoped to eat at Gora Brewery and Grill, but it was fully booked, so this is one place I would recommend reserving in advance. Luckily, Pub Stop Pizza & Bar next door turned out to be a great backup. It was easy to get a table, the pizzas were genuinely good, and it was much better value than I expected.
Where I stayed during this Japan intinerary
I stayed in 5 different hotels during this trip: one in Tokyo for the first two nights, one in Hakone with a private onsen, one in Kyoto, another in Osaka and my last one on my return to Tokyo for my final nights. Changing hotels this often might sound a lot, but it helped me avoid unnecessary day trips. I also enjoyed comparing hotels and trying somewhere different in each city.
Tokyo / Ariake
Villa Fontaine Grand Tokyo Ariake
Easy arrival, teamLab Planets and a slower first night.
Hakone
Blisstia Hakone Sengokuhara
Private onsen room, mountain stay and relaxation.
Kyoto
Traveltine Kyoto Kiyamachi
Great base for Nishiki Market, tea ceremonies and exploring.
Osaka
Hotel Noum
Osaka Castle, calmer location and easy access to the city.
Tokyo / Suidobashi
Sequence Suidobashi
Final Tokyo nights, speakeasy bar and easy transport links.
Day 5: Take the Shinkensen to Kyoto and explore Nishiki Market
Today is the day you get your first proper experience of Japan’s bullet train. The shinkansen is more expensive than regular JR trains, but it’s also one of those travel experiences that feels exciting in its own right. It is fast, smooth, efficient and a brilliant way to travel between Hakone and Kyoto.
You do not always have to book Shinkansen tickets far in advance, but I would recommend reserving seats if you are travelling with large suitcases. Oversized luggage spaces are limited, and booking ahead gives you more choice and less stress on the day. This is another reason why I found luggage forwarding so useful on this route.
Once you arrive in Kyoto, drop your bags at your hotel and head out to explore. I stayed at Traveltine Kyoto Kiyamachi, which was in a great location for walking around the city. For your first afternoon, Nishiki Market is a great place to start, with food stalls, independent shops, coffee spots and restaurants all packed into one lovely area.
Day 6: Nara, Arashiyama Bamboo Forest and Fushimi Inari
This was the easiest day of the itinerary from a planning point of view because I booked a guided day trip. I love using tours for busy sightseeing days, especially when they remove the pressure of navigating transport, timings and multiple locations in one day. The tour I booked had pick-up points in both Kyoto and Osaka so you could easily move this day around depending on where you are staying.
The first stop was Nara, famous for its free-roaming deer. You can buy special deer crackers called shika senbei, which are made for them, so avoid feeding them anything else. The deer are used to visitors and many will bow for food, but they are still wild animals. Give them space, especially the males with antlers, as some can be more pushy than others.
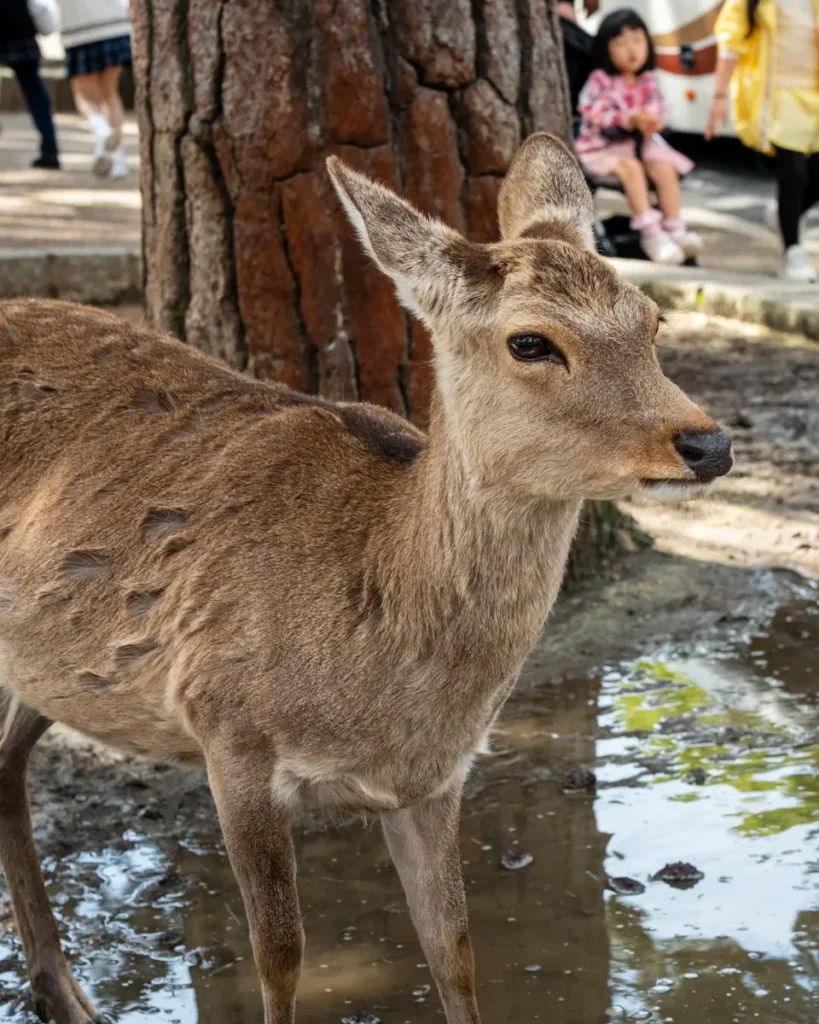
Next, head to Arashiyama to visit one of Japan’s most iconic bamboo forests. It is beautiful, but extremely popular, so do not expect to have it to yourself during the middle of the day. If photography is a priority, consider returning early another morning from Kyoto, when you will have a much better chance of quieter paths and fewer people in your photos.
The final stop is Fushimi Inari Taisha, famous for its thousands of red torii gates. This is one of the most iconic photo locations in Japan and it is easy to reach from central Kyoto, which also means it gets very busy. If you want quieter photos, visit around sunrise. Even with the crowds, it is still a beautiful place to explore and one of those Kyoto sights that really does live up to the hype.
Day 7: Kyoto tea ceremony, chopstick making and Yasaka Pagoda
Use this day to slow down and experience more of Kyoto’s traditional side. I started with a visit to the Pokémon Centre, then a breakfast of pancakes at Kuro café before wandering back through the market area and nearby streets. Later in the day, I had a tea ceremony booked through GetYourGuide, which felt like one of those experiences you have to try at least once in Japan.
After a quick lunch, I walked to my next activity: a chopstick-making workshop at 禅 ZEN Chopsticks and Kintsugi Workshop. I loved this more than I expected and honestly left considering whether I could take it up as a hobby at home. I only booked the chopstick-making session but if I went again, I would add the Kintsugi workshop too.
From there, I then took a short walk up the hill towards Hōkan-ji Temple, better known as Yasaka Pagoda. This is one of Kyoto’s most photogenic streets, especially if you visit around golden hour when the light softens and the pagoda glows between the traditional buildings. There are also plenty of small coffee spots and vending machines if you need a quick pick-me-up along the way.
Day 8: Kyoto shopping, Hikiniku to Come and a Japanese Knife workshop
Hikiniku to Come was my favourite restaurant in Japan, without question. The experience is simple but brilliant: you are served three freshly cooked wagyu hamburger steaks, each with different instructions on how to enjoy them. It turns into a full tasting experience rather than just a meal. Book ahead if you can, because the same-day reservation queue can stretch down the street in the morning. I ended up going for breakfast because that was the only time I could get.
Spend the rest of the day shopping and exploring Kyoto at a slower pace. A Japanese kitchen knife is one of the most popular souvenirs to bring home, but I decided to take it a step further and book a knife-sharpening workshop at Hirui. I learnt from experts, customised my own handle and had the blade engraved, which made it feel like a much more personal souvenir than simply buying one from a shop.
Day 9: Kyoto to Osaka, Osaka Castle, Shinsekai and Dotonbori
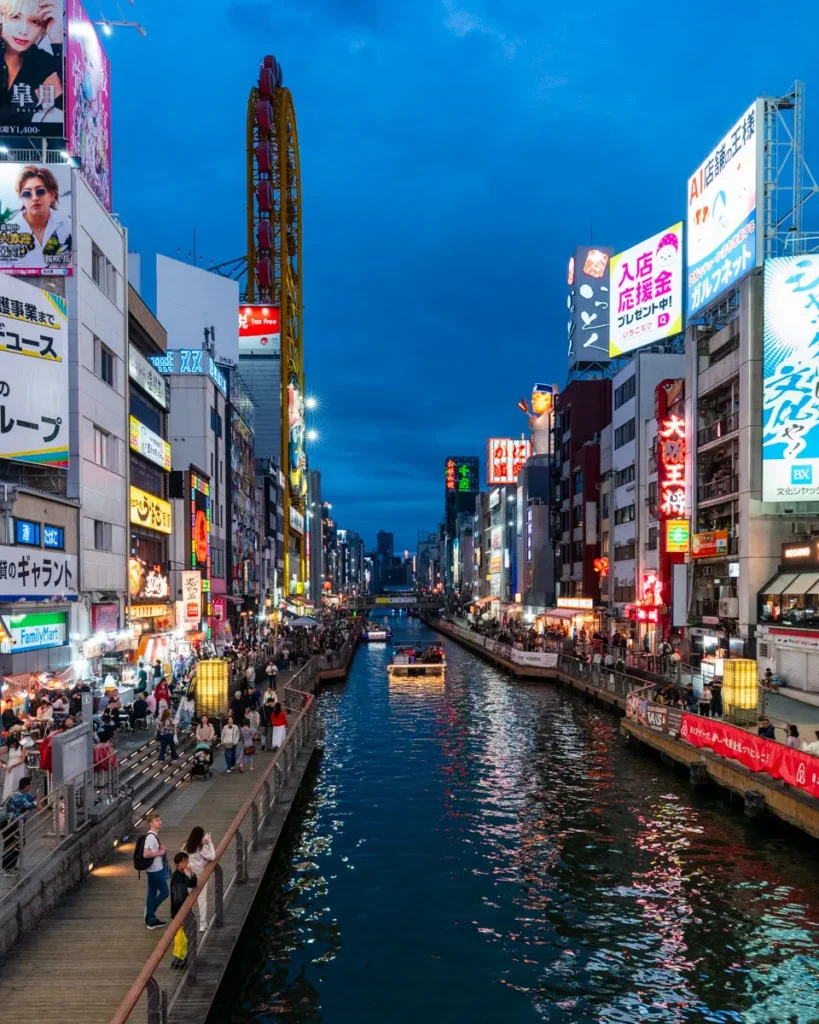
It’s time to say goodbye to Kyoto and travel to Osaka. The journey is easy, affordable and takes around 30 minutes by train, so you do not need to reserve seats in advance. Once you arrive, drop your bags at your hotel and head straight to Osaka Castle for photos before making your way to Kuromon Market for lunch and a proper introduction to Osaka’s food scene.
In the afternoon, head to Shinsekai for Retro Osaka atmosphere, colourful streets and plenty of photo opportunities. If you want some skyline views, you can go up Tsutenkaku Tower before heading towards Shinsaibashi Shopping Street and the famous Glico Man sign. End the evening in Dotonbori, where the lights, food stalls and riverfront make Osaka feel completely different after dark. A river cruise is a great way to see it all without adding too much extra walking.
Not ready to end the night? Get a taxi over to Umeda Tower for one last experience. This not only gives you the best views of Osaka, but luminescent flooring really makes you feel like you’re standing in the stars. There are some great photo ops here and even staff working as full-time photographers to get you that new profile pic.
Day 10: Hiroshima and Miyajima day trip from Osaka
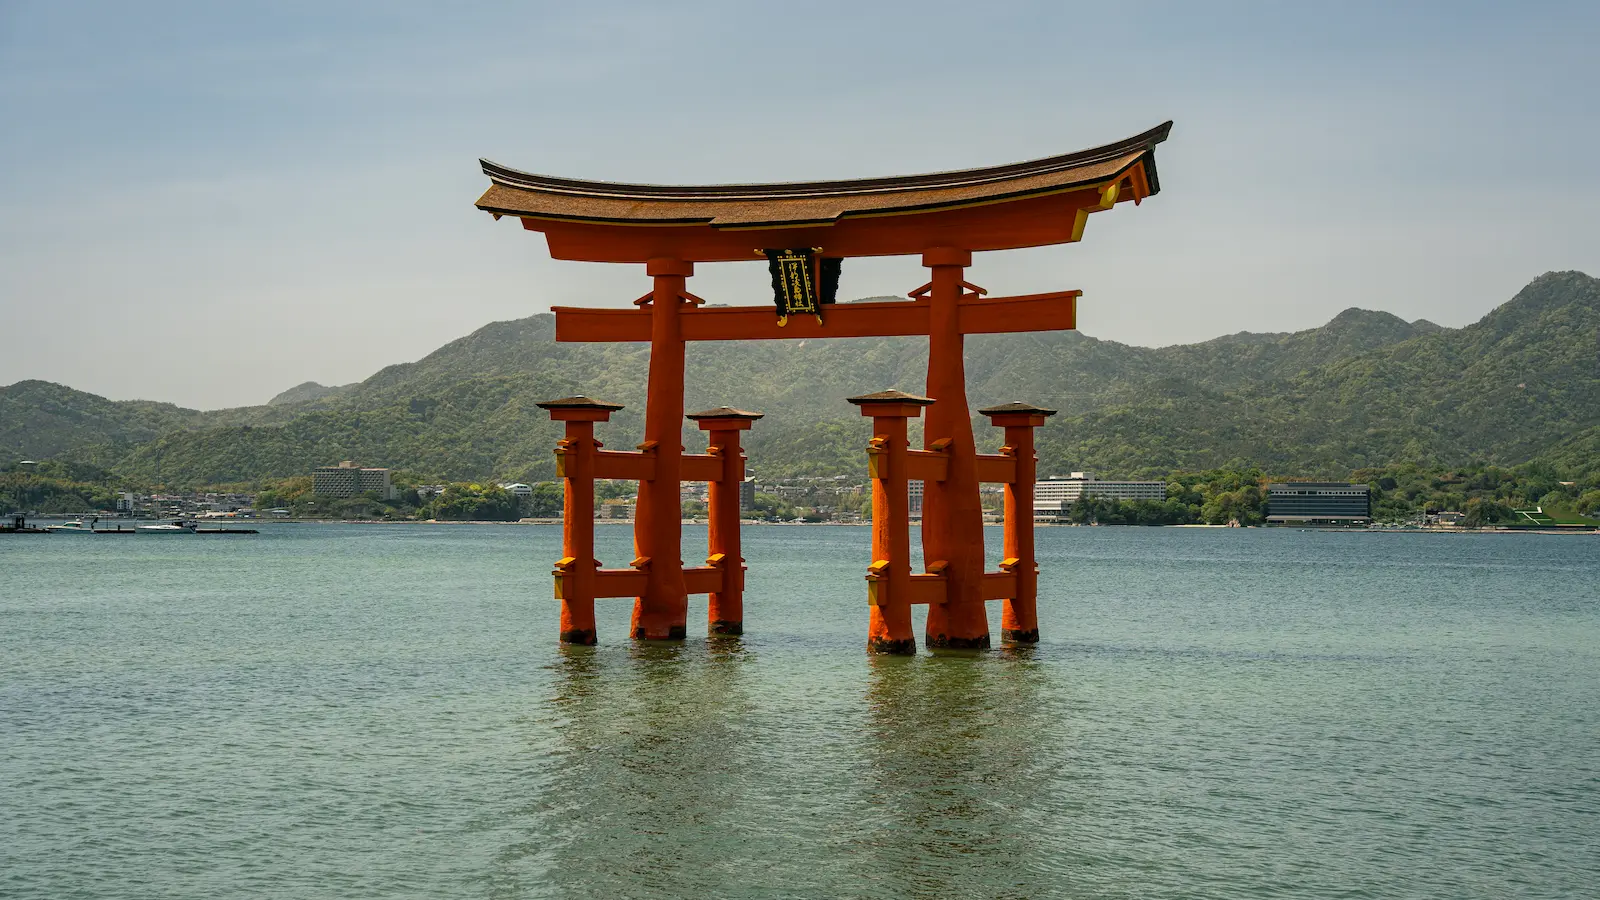
Today is a self-guided day trip from Osaka to Hiroshima and Miyajima. It is a long day, but it was one of the most memorable parts of my Japan itinerary. Start early and take the Shinkansen from Shin-Osaka Station to Hiroshima, then make your way to Peace Memorial Park. This is not a place to rush. Take time to slow down, reflect and understand the history of where you are standing.
From Hiroshima Peace Memorial Park, you can take a direct boat to Miyajima Island, which is the quickest and most scenic option. I would recommend checking availability early, as spaces can be limited. If the direct boat is full, you can get the tram towards the ferry terminal and use the public ferry instead. We managed to get the boat one way, then returned using the public ferry which worked well.
Like Nara, Miyajima Island has free-roaming deer, although I found them much calmer and less demanding. The two main sights you’ll want to explore are Itsukushima Shrine and the Miyajima ropeway up towards Mount Misen. Try to check the tide times before your visit. At high tide, the famous torii gates appears to be floating on the water, while at low tide you can walk right up to it for a completely different photo.
Returning to Osaka, I stayed at the Hotel Noum Osaka, which was in a great location to walk to the Osaka Castle. Even better, there’s a late-opening pancake spot nearby called One Day Creperie. After a long day at Hiroshima and Miyajima, their tiramisu pancake was exactly the kind of late-night treat I needed.
Day 11: Return to Tokyo, Tokyo Tower, sumo wrestling and Akihabara
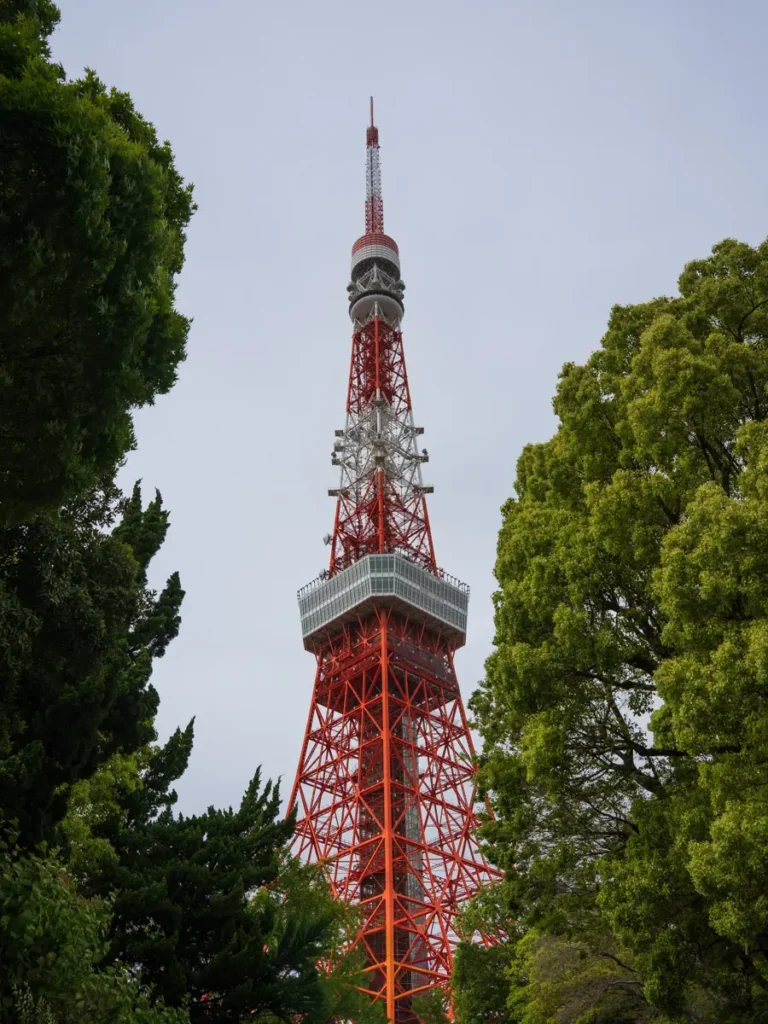
It is time to return to Tokyo for the final part of the trip. Book an early Shinkansen from Osaka so you still have most of the day to enjoy the city. If you are travelling with suitcases, reserve your seats in advance. You could forward your luggage in advance, although that does mean spending another night without your main suitcase. Once you arrive, drop your bags at your hotel and head towards Tokyo Tower. I did not go up the tower, but walking the surrounding streets gave me some of my favourite photos from the entire trip.
Next, book a sumo wrestling experience. You can choose between a daytime show with a few Asahi beers, or book an evening experience that includes dinner. It is fun, theatrical and a brilliant way to learn more about sumo without needing to attend a full tournament. Just do not eat too much beforehand, because some shows let volunteers step into the ring for a real sumo challenge.
Afterwards, spend some time exploring Akihabara’s arcades and retro game shops before heading to the workshop. Japan has such a huge gaming culture, and if you grew up with retro games, this next activity is a brilliant fit. I booked a build-your-own Game Boy experience, where you take an original console and customise it with a new shell, buttons and a modern screen. Spaces are extremely limited and the workshop can book up months in advance, so this is one activity you really need to plan ahead for.
Day 12: Shibuya Crossing, Shibuya Sky and a final night in Tokyo
Shibuya Crossing is one of those Tokyo sights you will have seen all over social media, so it is worth visiting at least once. Honestly, I found the crossing itself a little underwhelming, but the surrounding area is still fun to explore. If you enjoyed the 3D Shinjuku Cat, look out for the Akita Inu billboard in Shibuya, which puts on a short display on the hour.
While you’re in the area, book tickets for Shibuya Sky. This is one of the best observation decks in Tokyo, with open-air views over the city and, on a clear day, a chance of seeing Mt Fuji in the distance. Morning tickets can be easier to get, but sunset is the dream slot if you manage to book early enough.
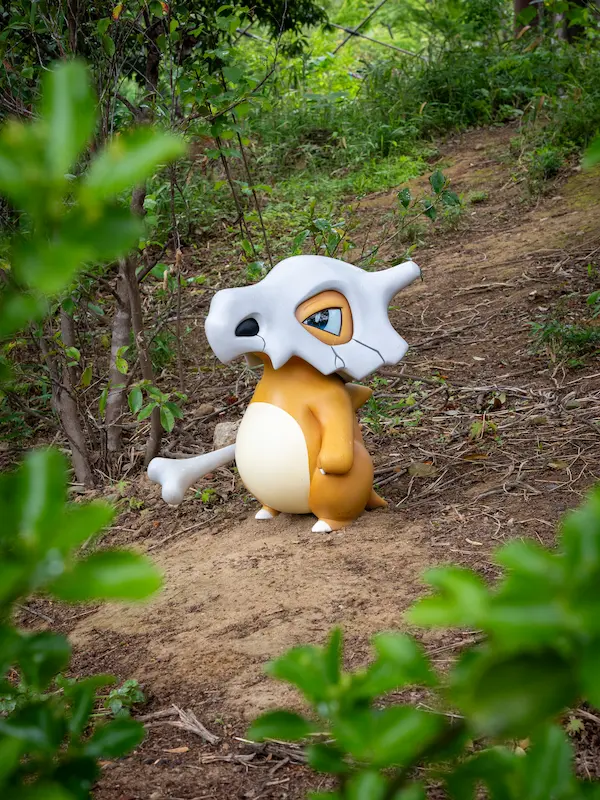
In the afternoon, I had tickets for PokéPark Kanto. This was one of the hardest things to book on the trip, so if it is on your Japan wish list, be ready when tickets are released. The journey from central Tokyo takes around an hour by train, but if you grew up on Pokémon like I did, the Pokémon Forest is full of nostalgia and well worth the effort.
When you return to central Tokyo, end the trip with something memorable. I stayed at Sequence Suidobashi Tokyo, which has a hidden speakeasy bar inside the hotel. We managed to get in without a reservation, but part of the fun is finding the hidden key before you can enter. It made for a perfect final-night drink before flying home.
Departure morning: Fly home from Haneda Airport
My final morning in Japan was all about getting to Haneda Airport, so I did not plan any extra activities. Staying in the same hotel as the speakeasy made the night before much easier. I could head straight to bed and get as much sleep as possible before a 5am wake-up. If you still need last-minute souvenirs, Don Quijote is always a useful backup. Many Don Quijote branches are open late or even 24 hours.
That was my full first-time Japan itinerary, covering Tokyo, Hakone, Kyoto, Nara, Osaka, Hiroshima, Miyajima and a final return to Tokyo. You can copy this route completely or use it as a starting point to build your own Japan trip. If I were doing it again, I would probably add a couple of extra days, giving me time to add a Mt Fuji day trip in Hakone. But for a first visit this itinerary gave me an incredible mix of cities, culture, food, scenery and once-in-a-lifetime experiences.
What I would do differently
If I could do this exact route again, there would be a few changes I would make so that the journey is easier. I would add an extra 2-3 days. That would allow me to fit in a tour of Mt Fuji either from Hakone or Tokyo. It would also give me more breathing room with activities, so that I could fit in more or just take time to relax and shop.
I would also plan my time in Hakone around the Freepass more carefully, so I knew which stops I wanted to make and didn’t miss anything again. I managed to see a lot during the day, but if I’d been a little more organised, I could have fitted in the Mt Fuji viewpoint as well.