Chopstick Making in Kyoto: My ZEN Workshop Experience
Throughout Japan, you’ll find plenty of shops selling beautiful and relatively inexpensive chopsticks, making them a perfect souvenir. Rather than buying another pair from a shop, though, I wanted to make something that was completely my own and take home a pair of chopsticks with a story behind them. So I signed myself up for a chopstick making workshop while I was in Kyoto.
Some links in this review are affiliate links, to learn more about how we use these, read our disclaimer.
- My Chopstick Making Experience in Kyoto
- ZEN Chopsticks Making Workshop in Gion
- ZEN Chopsticks Workshop Tickets and What’s Included
- In a hurry? Plan everything here
- Choosing your Wood
- Making My Chopsticks: Step by Step
- Is a Chopstick Making Workshop in Kyoto Difficult?
- How Long Does the Chopstick Making Workshop Take?
- Would I Recommend Chopstick Making in Kyoto?
- Where to Stay in Kyoto
- Frequently Asked Questions
My Chopstick Making Experience in Kyoto
I had started that morning with a traditional tea ceremony, and after enjoying a pizza beside a small stream at Pizza Salvatore, we started the walk to our class. I would be taking my class at Zen Chopsticks, a small studio in Higashiyama Ward.
ZEN Chopsticks Making Workshop in Gion
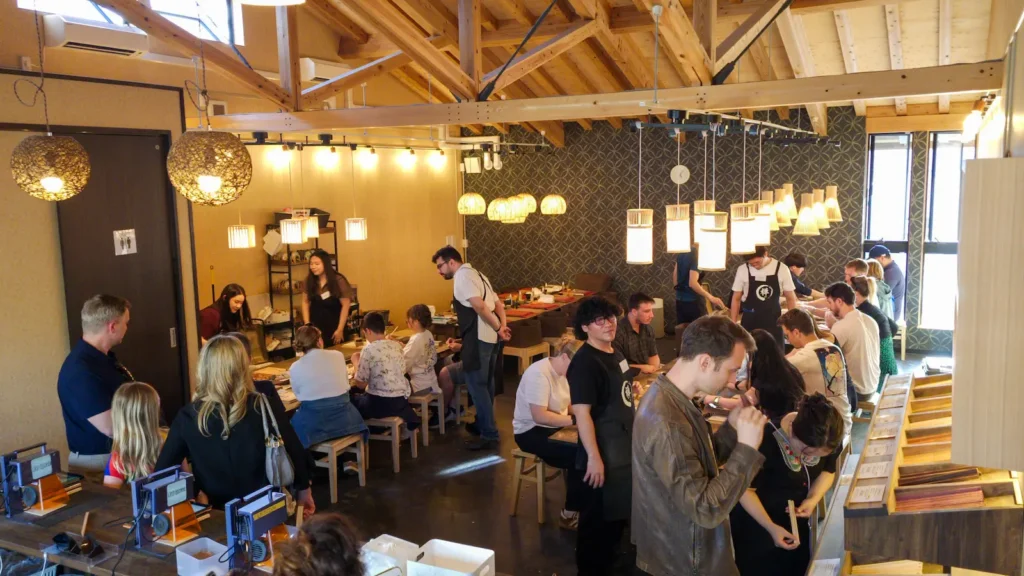
We walked into the studio and could immediately see the available workstations. There was more than just chopstick making here, as you can also book Kintsugi, the art of repairing broken pottery using a mixture of tree-sap and powdered gold.
As soon as we signed in we were taken to a table to get started. I really appreciated this because I always want to get stuck in as soon as possible. Each station had a host who oversaw the activity and would guide us through.
ZEN Chopsticks Workshop Tickets and What’s Included
The standard booking includes one pair of chopsticks made from Hiba wood, along with all the tools and guidance needed to make them during the workshop, ensuring you leave with your own handmade souvenir.
You can upgrade to a different type of wood for an additional fee. Later in the class, you also have the option to add laser engraving, which costs extra and isn’t included in the standard booking.
In a hurry? Plan everything here
Activities:
Accommodation:
Choosing your Wood
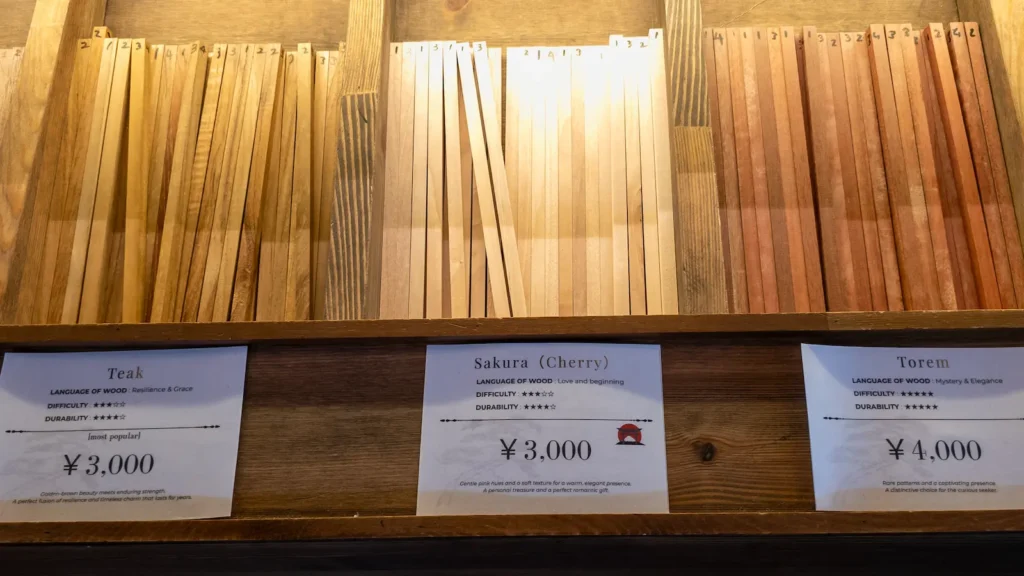
The first stage was choosing our wood. Hiba is included with the standard booking, but several other woods were available as paid upgrades.
There was a variety to choose from, but it came down to so much more than just aesthetics. Each type of wood was differentiated in three ways:
Difficulty
Some woods are hardier than others, such as Hiba being more suited for beginners whilst Purple Heart is more difficult to work with.
Aesthetics
You may prefer a darker wood such as Sonokeling (Rosewood), or something lighter like Sakura (Cherry), but remember that the final oiling stage will darken the wood slightly.
The Language of Wood
Each type of wood was labelled with its own symbolic meaning, described at the workshop as the “Language of Wood”. Similar to Japan’s better-known language of flowers, the different woods represented qualities such as love, resilience and new beginnings, adding another personal element to the pair you create.
| Hiba | Freshness & Protection |
| Keyaki (Japanese Zelkova) | Courage & Vitality |
| Purple Heart | Passion & Strength |
| Sakura (Cherry) | Love & Beginning |
| Sonokeling (Rosewood) | Elegance & Rarity |
| Sugi (Japanese Cedar) | Strength & Tradition |
| Teak | Resilience & Grace |
| Torem | Mystery & Elegance |
| Walnut | Wisdom & Sophistication |
I chose Sakura (Cherry) because I liked the lighter colour, but the meaning also felt particularly appropriate. I had recently left corporate life to pursue photography full-time, so “new beginnings” resonated with me.
Making My Chopsticks: Step by Step
After selecting my pieces of Sakura, I headed back to the table to get started with transforming them into my souvenir. Our teacher walked us through the process. We could go at our own pace, but they were always on hand to give support or check our work as we went along.
Planing the wood
Now we had our wood, we sat down at our individual stations. Each station had a traditional Japanese hand plane, known as a kanna, along with a planing jig and oil. I loved how simple the setup was; it felt like the kind of relaxing hobby you could easily continue at home.
Each of the four sides of the wooden blank was numbered, making it easy to keep track of which sides we had already planed and ensuring each received roughly equal attention.
It didn’t take long for the angled planing jig to transform the rectangular pieces of wood into recognisable chopsticks with tapered ends. The process was surprisingly soothing and almost zen-like. I could genuinely see myself buying a small setup at home just for the chance to switch off and de-stress.
Smoothing our Chopsticks
Once all four sides had been planed and angled correctly, the chopsticks were still quite angular and uncomfortable to hold. The next step was sanding them down, softening the edges and rounding the ends.
This was easy enough, requiring just some sandpaper and patience. It wasn’t as fun as planing the wood but it is hard to deny the results being satisfying. When our chopsticks felt comfortable to hold, they were done, and it was time to mark them as our own.
Engraving our Chopsticks
Like your choice of wood, engraving your chopsticks is an optional extra and isn’t included in the standard booking. For me, though, it felt like something worth adding. I had made these chopsticks with my own two hands, and I wanted to personalise them with something that would remind me of the experience.
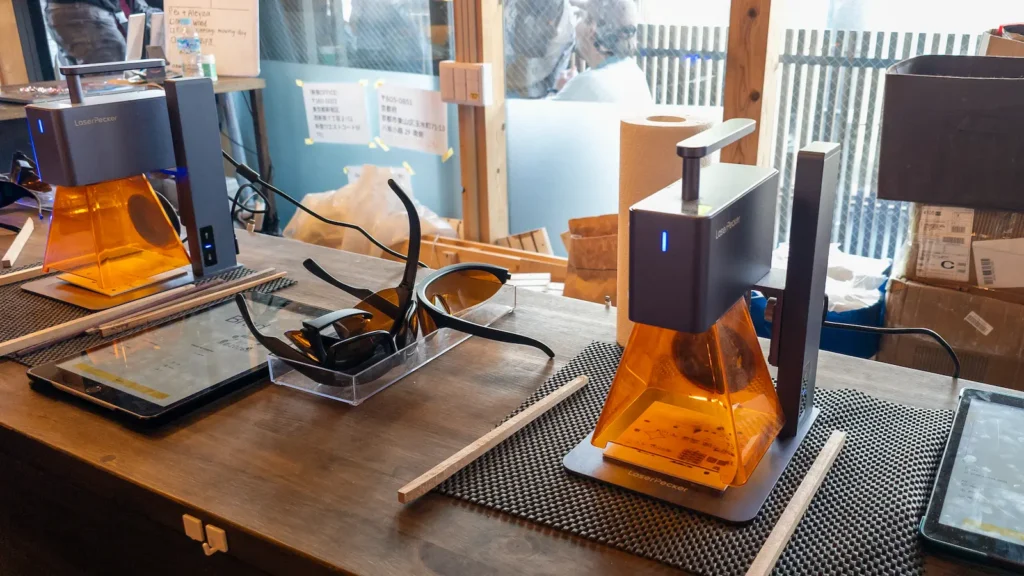
This was the stage we had the least involvement in, as the engraving itself was handled by a laser engraver. You can choose what you want engraved, and it doesn’t have to be the same on both sticks. Some people chose their names or the date; I had my name in Japanese engraved on one and “Kyoto 2026” on the other.
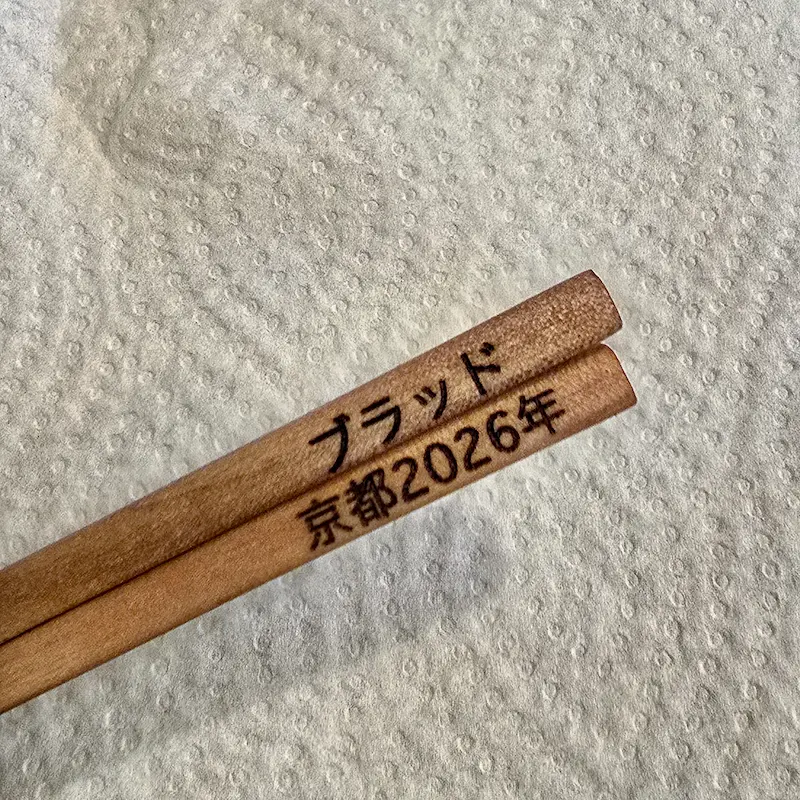
Considering how delicate chopsticks are, and the number of people passing through the workshop, using a laser engraver makes sense. It’s quick, precise and produces consistently clean results.
Although the laser produced perfect results, it was the least satisfying stage for me. After shaping and sanding the wood myself, handing the chopsticks over to a machine didn’t have quite the same sense of achievement.
Oiling our Chopsticks
Oiling was the final stage of making our chopsticks. Using a paper towel, we applied a light coating of oil to protect the wood and bring out its natural colour. The Sakura immediately became noticeably darker, and we were told it would continue to deepen slightly as the oil soaked in and dried.
Packaging Our Chopsticks
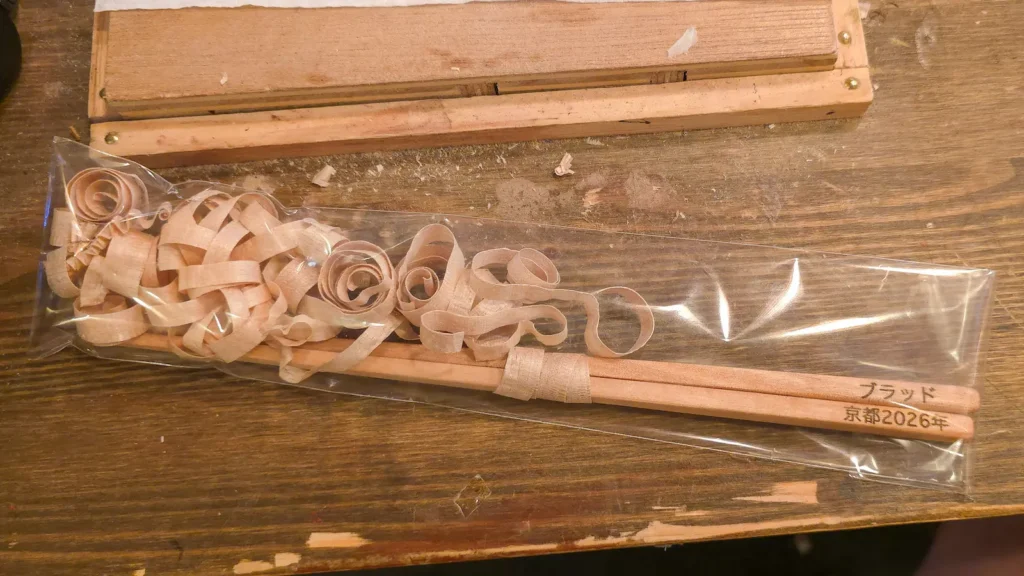
Once our chopsticks were complete, the guides packed them into clear plastic sleeves to take home. They even reused some of our own wood shavings from earlier as a little extra padding, which was a nice final touch and even served as decorations.
Is a Chopstick Making Workshop in Kyoto Difficult?
No. The chopstick making class is perfect for beginners, and you don’t need any previous woodworking experience. The instructors are there to demonstrate and check your progress every step of the way.
The planing takes a little bit of concentration, particularly if you choose one of the harder woods, but even with a mid level difficulty wood I never felt like I was struggling to keep up. You are able to work at a pace you feel comfortable with rather than rushing to finish alongside everyone else.
How Long Does the Chopstick Making Workshop Take?
The Chopstick Making Workshop takes between 30 – 60 minutes, depending on your skill level. Making it the perfect activity to fit in at any point during your stay in Kyoto.
Would I Recommend Chopstick Making in Kyoto?
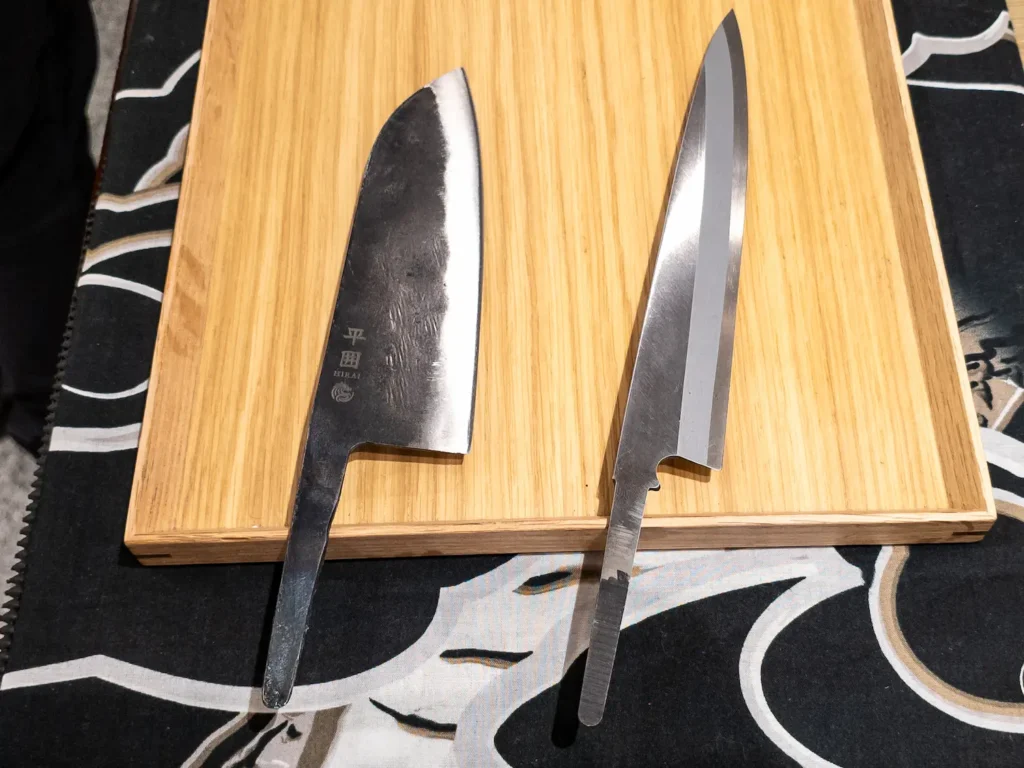
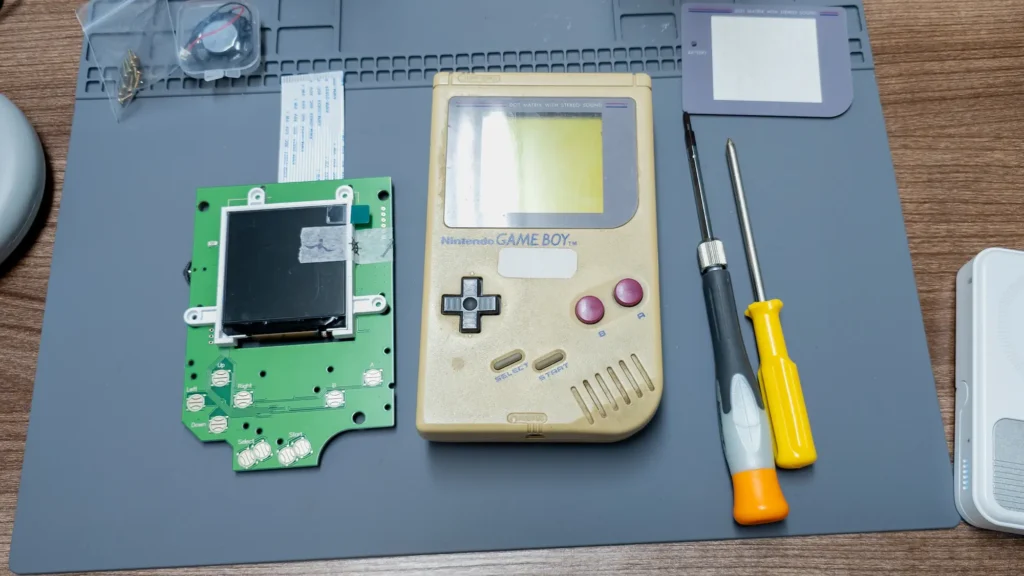
Yes. The chopstick making workshop was one of the best-value activities I did during my trip to Japan. It was considerably cheaper than workshops such as the Game Boy modding and knife sharpening experiences, but it was still incredibly fun and felt just as rewarding.
What made it even better was leaving with a souvenir I had made completely from scratch. With many workshops, you are given partially prepared pieces to assemble, but here I started with raw materials and created something genuinely functional. You can buy beautiful pairs of chopsticks all over Japan, but these have a story behind them, which makes them feel much more personal.
Where to Stay in Kyoto
During my time in Kyoto, I stayed at Hotel Traveltine Kyoto Kiyamachi. This was my longest hotel stay during the entire Japan trip, so I was very happy that I loved it. The location put me within walking distance of markets, restaurants and many of the activities I had planned around the city.
It was also possible to reach public transport on foot, although once I was reunited with my suitcase, I happily opted for an Uber instead.