
I Built My Own Game Boy in Japan – Here’s What It Was Like
My very first console, something that was completely my own, was a Game Boy. Now admittedly it was the Game Boy Advance, but I have always loved the styling of the original Nintendo Game Boy. A few months prior to my flight, I saw reels about a Game Boy Modding Workshop in Tokyo. The chance to build, customise and take home one of my favourite consoles, I knew this was something I had to do.
Some links in this review are affiliate links, to learn more about how we use these, read our disclaimer.
- Quick Information
- Why I Booked the Game Boy Modding Workshop
- What Is the Game Boy Modding Workshop?
- In a hurry? Book everything here:
- Booking the Game Boy Modding Workshop
- Building My Own Game Boy
- Finishing The Workshop and Taking My Game Boy Home
- How Difficult Is the Game Boy Modding Workshop?
- Tips Before Your Game Boy Modding Workshop
- Game Boy Modding Workshop Frequently Asked Questions
Quick Information
Location
Tokyo
Duration
Aprox 3 hours
Best for
Retro Gamers
Difficulty
Beginner-Friendly
What’s included
A Modded Game Boy
Book ahead
As early as possible
Why I Booked the Game Boy Modding Workshop
I booked the Game Boy Modding Workshop because I wanted to bring home my own original Game Boy. I would have loved to have done the Advance or Advance SP experience, but having an original Game Boy on my desk looks incredibly cool.
What Is the Game Boy Modding Workshop?
The Game Boy Modding Workshop allows you to take the motherboard from original, working Game Boys and transplant them into custom shells. You choose the colour of the case and buttons, whilst upgrading the screens to modern backlit LCD.
It requires no soldering or anything too technical, just plugging the parts you need and a few screws to tighten.
In a hurry? Book everything here:
Activities:
Accommodation:
More from Japan:
Booking the Game Boy Modding Workshop
Originally when I checked there was no availability to join a workshop. I kept checking Get Your Guide and Viator for weeks up until my trip. Spaces come all the time so I knew I just had to hope for a cancellation.
I checked one last time at Heathrow Airport whilst I waited for my coffee, and there was one space that had appeared. I checked the timings, and it was the same time as my Sumo Experience. Luckily that was easily transferable with loads of availability, so we managed to move that to an afternoon class and I could attend both.
Building My Own Game Boy
We were met outside Electric Avenue by our host. Our group was really small, with only three of us building. I would be joined by a father and his teenage son, both of whom were avid gamers. The father had fond memories of his original Game Boy, and as his son was too young to remember them, had booked it as a bonding experience and to share his nostalgia.
We were taken by taxi to a small office, where everything we needed was laid out for us. Our hosts had laid out drinks and snacks for us to enjoy whilst we built. Some of the sweets were made by Asahi, who I had only known as doing beer, but were fruit flavoured and very addictive.
The workshop started with an introduction to Nintendo and their history, starting from their very first games to the modern-day cultural phenomenon it has become. We were invited to share some of our favourite gaming memories.
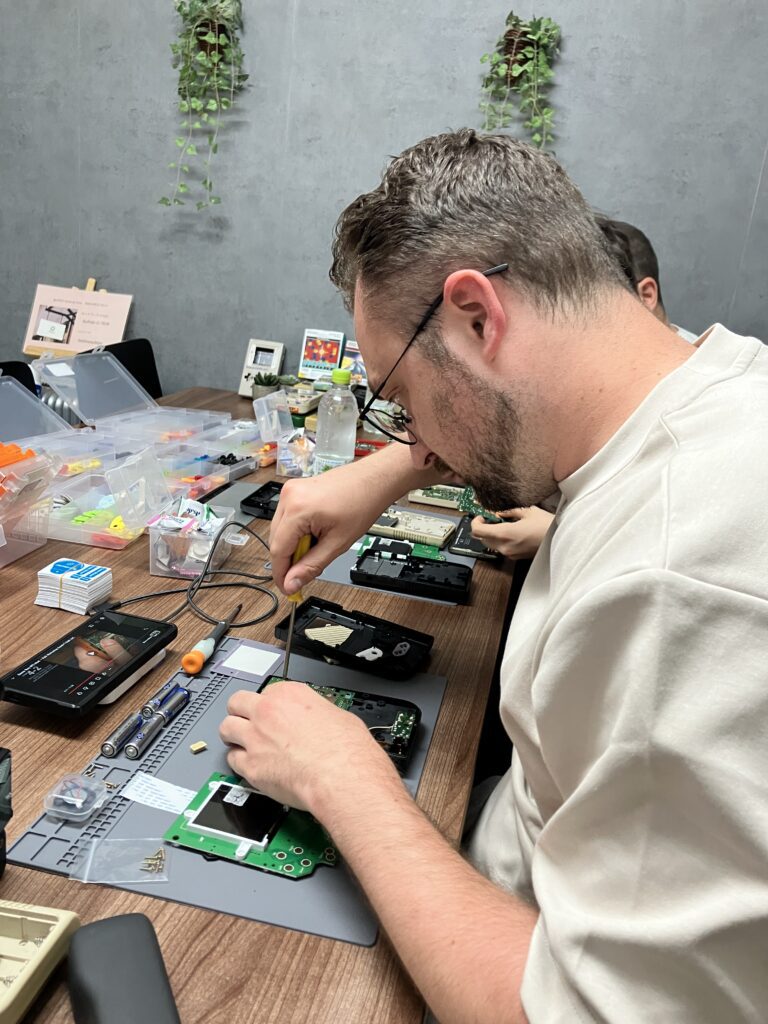
Our hosts had created an instructional video we could watch on our phones whilst we went through the build. I found this really helpful as some points could be finicky, so I had to watch it carefully a few times to get it right. It also meant if one of us was faster than the others we didn’t have to wait for the whole group to catch up.
Choosing the Parts
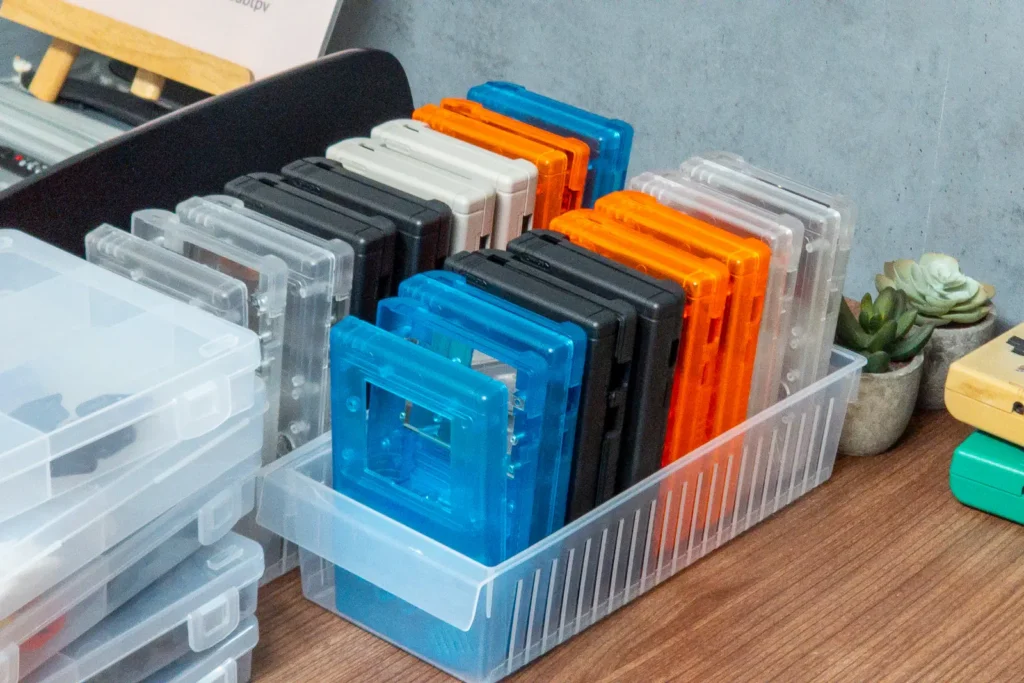
This was the first task we had, and the hardest decision. We had a choice of colours, including the classic grey. The translucent colours looked great, but for me I had to go with the matt black. I just thought it looked so cool, so I paired it with purple start and select buttons, smokey grey A and B, and a white D-pad.
Disassembling the Old Console
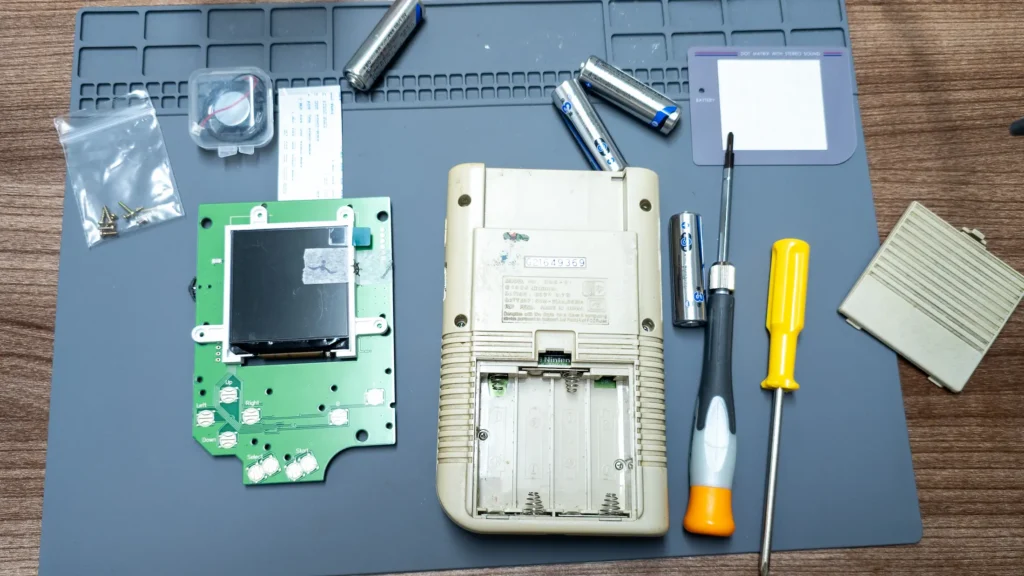
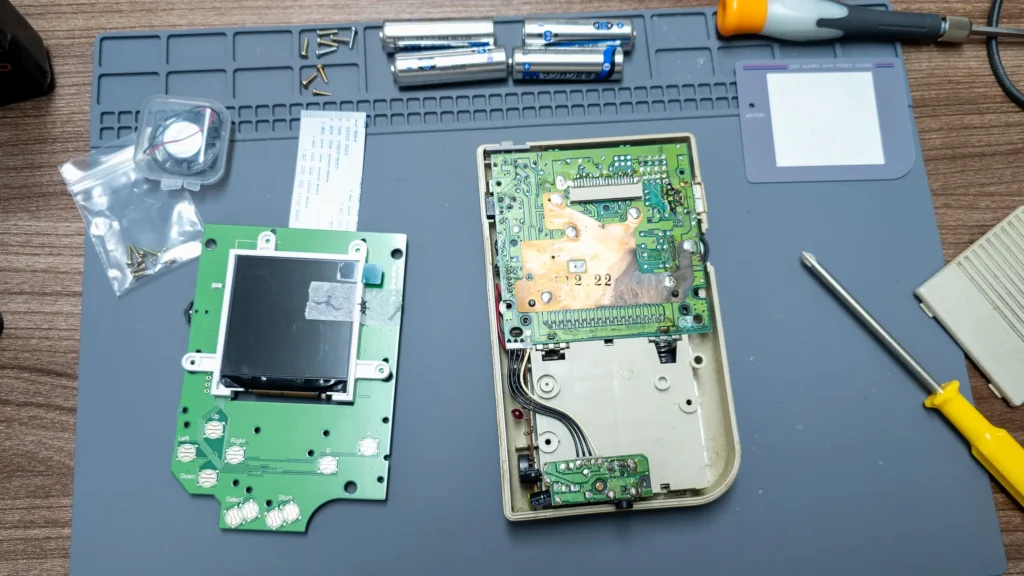
Once we had decided on our colour scheme, we had to carefully take apart the old console. Some parts we would be keeping, like the motherboard, whilst others like the screen would be replaced by a modern backlit LCD screen.
Assembling the Console
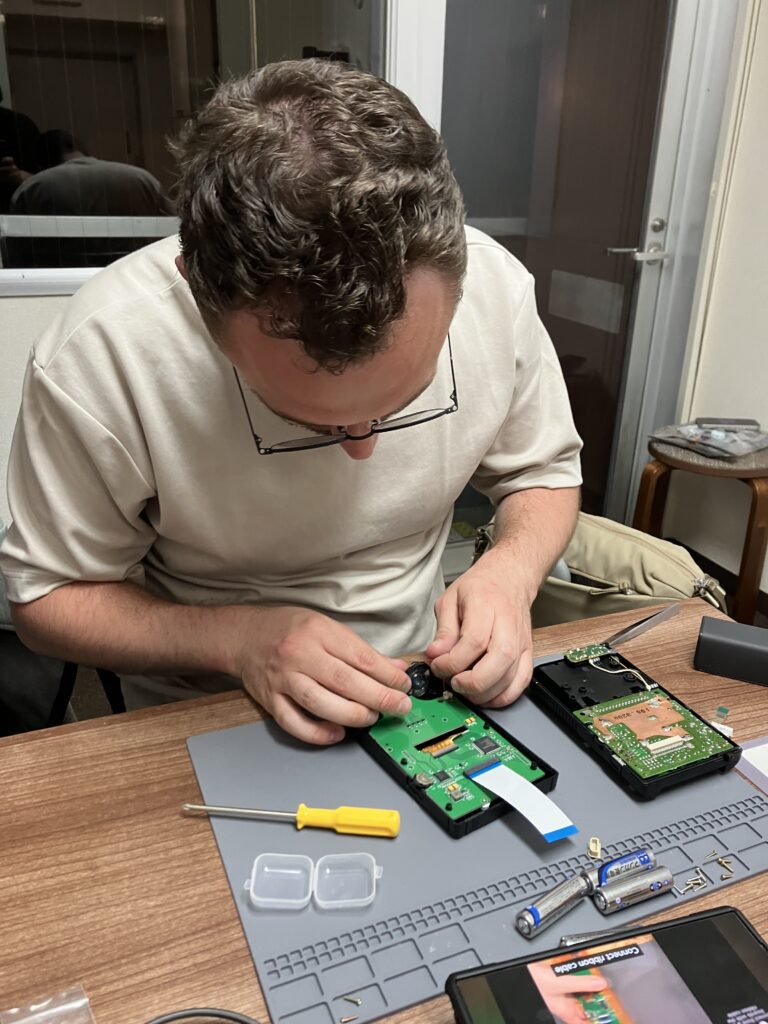
Assembling our Game Boy was a finicky process. The video instructions were really clear, and we had two hosts with us at all times to help out. But the video meant we could go at our own pace and rewatch anything if we were unsure.
I did have a few issues, when assembling, which is natural as I had never done anything like this before. But everyone was more than happy to help, even the other builders. I think that really adds to these experiences, if it all goes absolutely perfect then there’s no challenge. Going back and fixing your mistakes makes the experience more fun and rewarding.
Testing Everything
Once we had assembled our build, we were given a box of games to test them with. I naturally picked Pokémon silver, even though it’s entirely in Japanese and cannot be changed to English. There were English games there, but I wanted to see the opening animation as the first thing on my newly built Game Boy.
There were a few false starts, which meant we had to disassemble the Game Boy to see what had gone wrong. Often it was a loose connection. But that was part of the fun, and really gave me a sense of accomplishment when I was finished.
Mine does have a small scratch on the screen. I noticed the mark during the build, but assumed it was on a protective film that would be removed later. Unfortunately, I was wrong. By the time I realised, the screen had already been glued into place and could not be replaced. It was a little disappointing, and I wish it had been spotted before the screen was fitted, but I now try to see it as a small detail that makes my Game Boy uniquely mine.
Finishing The Workshop and Taking My Game Boy Home
After the session was done, we were allowed to take it home with us as a souvenir. The games we had been using to test our creations were available for sale too. So if we wanted to we could have something to play immediately.
After completing our builds we were asked to pose for photos with our new consoles. Games aren’t included in the experience but they did have some on sale. I opted to get a copy of Pokémon Silver that I had used to test earlier. They offered to get us a taxi back to the original station we had been picked up at, but it would have been cheaper and easier for me to get my own taxi straight back to my hotel.
How Difficult Is the Game Boy Modding Workshop?
The whole process is relatively easy and you can go in with no experience. I made a few mistakes which we were able to go back and fix. You are given a video that you can follow along at your own pace, and the majority of issues you can go back and fix. You tested each console and the hosts helped resolve problems before you leave.
Tips Before Your Game Boy Modding Workshop
- Book as far advance as possible.
- Groups can be as small as three people, so you may have to go solo if you really want to do it.
- Choose the experience based on what console and games you like